Introduction to the Ultimate Cherry Cheesecake Recipe
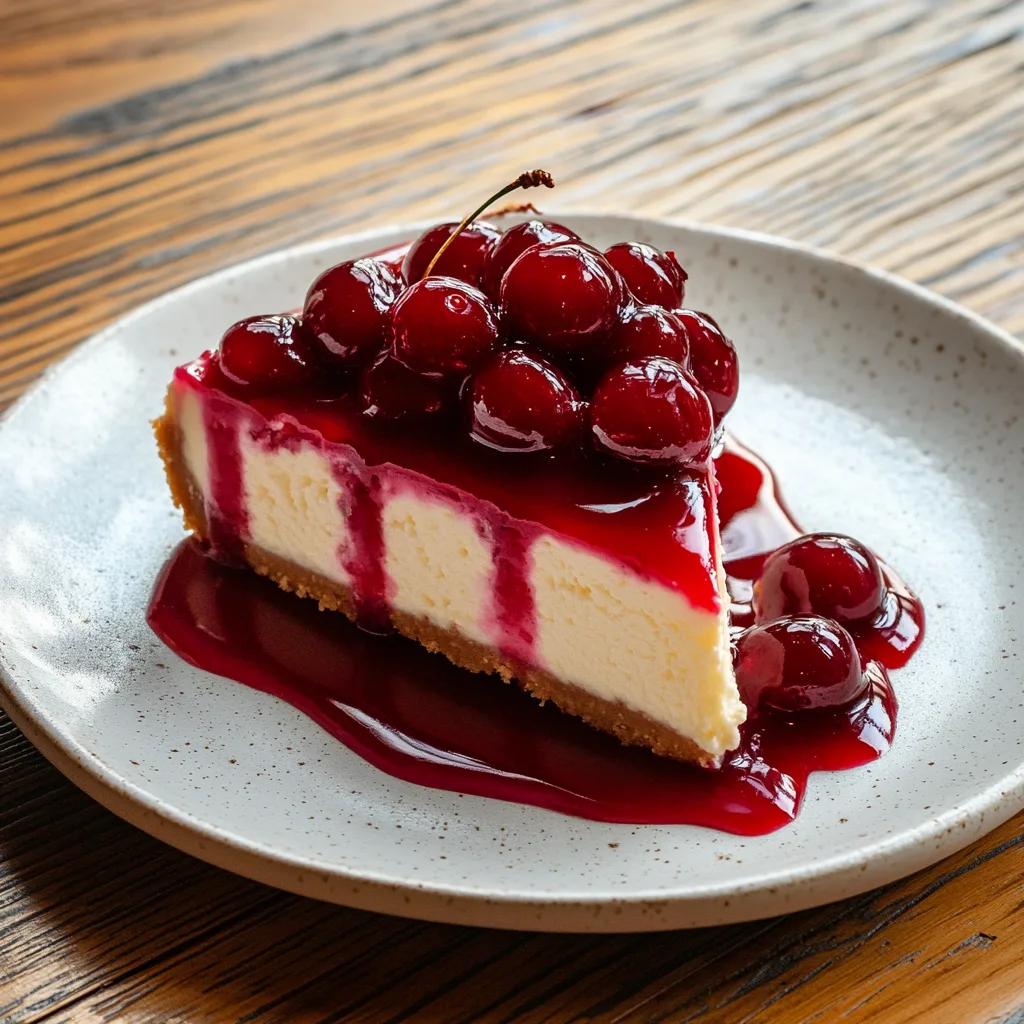
Cherry cheesecake is the perfect blend of rich, creamy filling and tart, juicy cherries, making it a timeless favorite for celebrations, dinner parties, or even a cozy weekend treat. Its vibrant appearance and indulgent flavors never fail to impress, and the best part? It’s easier to make than you might think!
In this guide, we’ll walk you through a simple, step-by-step recipe that guarantees a perfect cherry cheesecake, whether you’re a seasoned baker or a first-timer. Prefer a baked or no-bake version? We’ve got you covered with options to suit your preference.
Get ready to create a show-stopping dessert that’s as delicious as it is beautiful. Let’s dive in!
Ingredients List for the Ultimate Cherry Cheesecake Recipe
To make this cherry cheesecake, you’ll need the following ingredients divided into three main parts:
Crust Ingredients:
- 2 cups graham cracker crumbs
- 1/3 cup granulated sugar
- 1/2 cup unsalted butter, melted
Cheesecake Filling:
- 24 ounces cream cheese, softened
- 1 cup granulated sugar
- 3 large eggs
- 1 teaspoon vanilla extract
- 1/4 cup sour cream
Cherry Topping:
- 2 cups fresh or frozen cherries (pitted)
- 1/2 cup sugar
- 1 tablespoon cornstarch
- 1/4 cup water
- 1 teaspoon lemon juice
Preparing the Crust for Your Cherry Cheesecake Recipe
The crust is the foundation of your cherry cheesecake, providing a buttery and crunchy base that perfectly complements the creamy filling. Here’s how to make it:
Ingredients:
- 2 cups graham cracker crumbs
- 1/3 cup granulated sugar
- 1/2 cup unsalted butter, melted
Instructions:
- Crush the Graham Crackers:
If you have graham crackers, place them in a resealable plastic bag and crush them using a rolling pin until you achieve fine crumbs. Alternatively, use a food processor for even texture. - Mix the Crust Ingredients:
In a mixing bowl, combine the graham cracker crumbs, granulated sugar, and melted butter. Stir until the mixture resembles wet sand and holds together when pressed. - Prepare the Pan:
Use a 9-inch springform pan for easy removal of the cheesecake later. Line the bottom with parchment paper to prevent sticking. - Press the Crust:
Pour the crust mixture into the pan and press it firmly into an even layer using the back of a spoon or a flat-bottomed glass. Press the crust slightly up the sides of the pan for added stability. - Chill or Bake the Crust:
- For a no-bake cheesecake: Chill the crust in the refrigerator for at least 30 minutes.
- For a baked cheesecake: Preheat your oven to 350°F (175°C) and bake the crust for 10 minutes, then let it cool completely.
Crafting the Filling for the Ultimate Cherry Cheesecake Recipe

The filling is the heart of your cherry cheesecake. A perfectly creamy and smooth texture is essential to make this dessert irresistible. Here’s how to prepare it:
Ingredients:
- 24 ounces (3 packages) cream cheese, softened
- 1 cup granulated sugar
- 3 large eggs
- 1 teaspoon vanilla extract
- 1/4 cup sour cream
Instructions:
- Soften the Cream Cheese:
Remove the cream cheese from the refrigerator at least 30 minutes before starting. Softened cream cheese ensures a lump-free and smooth filling. - Beat the Cream Cheese:
Using a hand mixer or stand mixer, beat the cream cheese on medium speed for 2-3 minutes until it’s light and creamy. Scrape down the sides of the bowl as needed. - Add the Sugar:
Gradually add the granulated sugar and continue mixing until the sugar is fully dissolved and the mixture is silky smooth. - Incorporate the Eggs:
Add the eggs one at a time, beating well after each addition. This step ensures the filling remains smooth and evenly mixed. - Mix in Vanilla and Sour Cream:
Add the vanilla extract and sour cream to the mixture. Beat on low speed just until combined. Overmixing at this stage can incorporate too much air, which may cause cracks during baking. - Check the Consistency:
The filling should be thick but pourable. Avoid any lumps for a professional finish. If necessary, strain the filling through a fine mesh sieve.
Making the Cherry Topping for Your Cherry Cheesecake Recipe
The cherry topping adds a burst of color and flavor, transforming your cheesecake into a show-stopping dessert. You can use fresh, frozen, or canned cherries for this step. Here’s how to prepare the topping:
Ingredients:
- 2 cups fresh or frozen cherries (pitted)
- 1/2 cup granulated sugar
- 1 tablespoon cornstarch
- 1/4 cup water
- 1 teaspoon lemon juice
Instructions:
- Prepare the Cherries:
- For fresh cherries: Wash, pit, and halve them.
- For frozen cherries: Thaw them completely and drain excess liquid.
- For canned cherries: Drain and rinse them to remove any syrup.
- Mix the Ingredients:
In a medium saucepan, combine the cherries, granulated sugar, cornstarch, water, and lemon juice. Stir well to dissolve the cornstarch. - Cook the Mixture:
Place the saucepan over medium heat and bring the mixture to a gentle boil, stirring constantly. - Thicken the Topping:
As the cherries release their juices, the cornstarch will thicken the mixture. Continue cooking for 5-7 minutes until the topping becomes glossy and thick enough to coat the back of a spoon. - Cool the Topping:
Remove the saucepan from heat and let the topping cool completely before adding it to the cheesecake. Cooling ensures the topping sets properly and doesn’t melt the filling.
Assembling and Baking Your Cherry Cheesecake Recipe
Now that you have the crust, filling, and cherry topping prepared, it’s time to assemble the cheesecake. Follow these steps for a flawless result.
Instructions:
- Preheat the Oven (For Baked Cheesecake):
If you’re making a baked cheesecake, preheat your oven to 325°F (165°C). - Pour the Filling:
Take your prepared crust and gently pour the cream cheese filling over it. Use a spatula to smooth the top, ensuring an even layer. - Prepare for Baking (Optional Water Bath):
- To prevent cracking, consider using a water bath. Wrap the bottom of the springform pan with aluminum foil to keep water out.
- Place the pan inside a larger baking dish and pour boiling water into the dish until it reaches halfway up the sides of the pan.
- Bake the Cheesecake:
- Bake the cheesecake for 55-65 minutes. The edges should be set, but the center should have a slight jiggle.
- Avoid opening the oven door during baking to maintain consistent heat.
- Cool Gradually:
Turn off the oven and leave the cheesecake inside with the door slightly ajar for 30 minutes. This gradual cooling helps prevent cracks. - No-Bake Option:
For a no-bake version, refrigerate the cheesecake with the filling for at least 4-6 hours or overnight to ensure it’s firm and set. - Add the Cherry Topping:
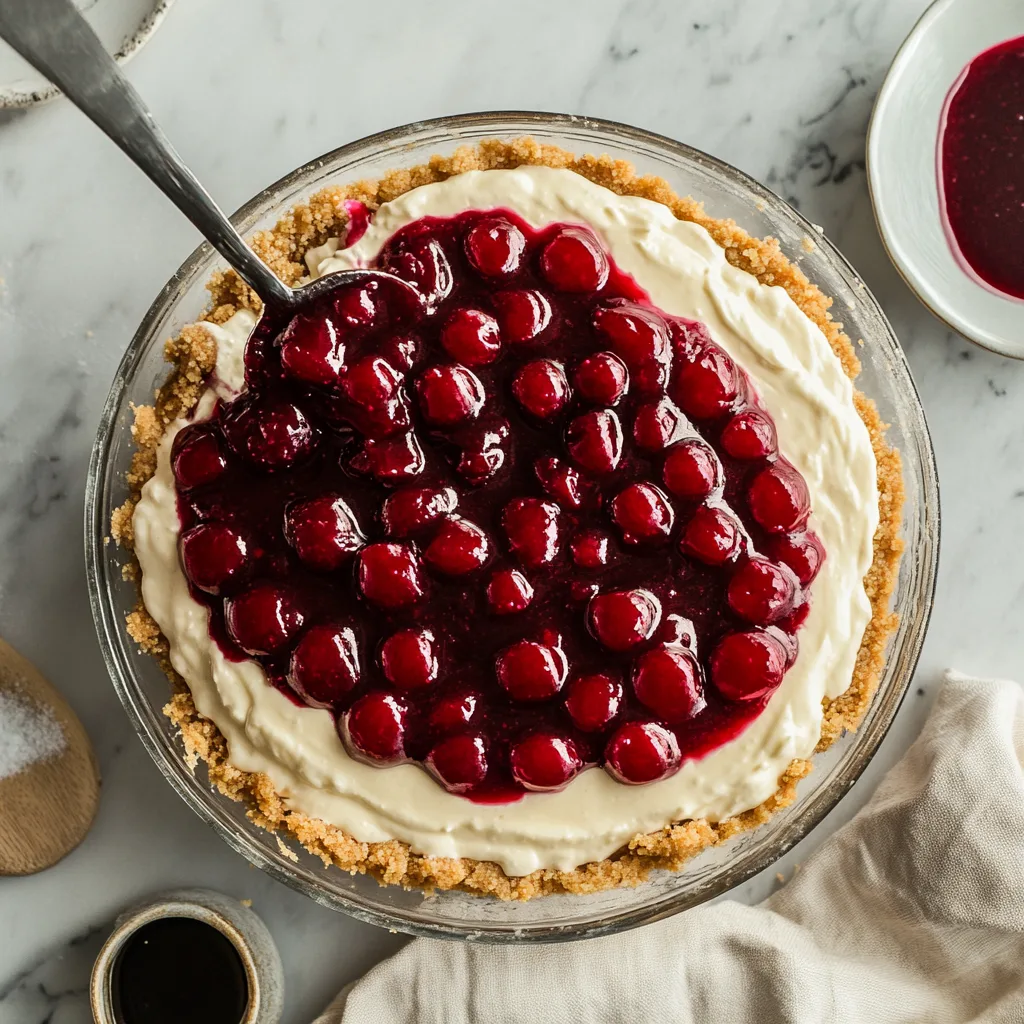
Once the cheesecake has cooled (for baked) or set (for no-bake), gently spread the prepared cherry topping over the top. Use a spoon or offset spatula to distribute it evenly. - Final Chill:
Place the assembled cheesecake in the refrigerator for another 1-2 hours to let all the flavors meld and the topping set.
Cooling, Serving, and Storing Your Cherry Cheesecake Recipe
Your cherry cheesecake is nearly complete! Now it’s time to focus on the final steps to ensure it looks and tastes perfect when served.
Cooling and Setting:
- For Baked Cheesecake:
After the initial cooling in the oven, transfer the cheesecake to a wire rack and let it cool completely at room temperature. Then, refrigerate it for at least 4-6 hours, or preferably overnight, to allow the flavors to develop and the texture to set. - For No-Bake Cheesecake:
Chill the cheesecake in the refrigerator for at least 8 hours or overnight to achieve a firm texture before slicing and serving.
Serving Suggestions:
- Garnishing:
Add a dollop of whipped cream or a sprinkle of grated chocolate on top for extra flair. Fresh mint leaves can also enhance the presentation. - Plating:
Use a sharp, warm knife to cut clean slices. Run the knife under hot water and wipe it dry between slices for a professional finish. - Pairing Ideas:
Serve your cheesecake with a cup of coffee, a glass of dessert wine, or a drizzle of chocolate sauce for an elevated experience.
Storing Leftovers:
- Refrigerator Storage:
Cover the cheesecake with plastic wrap or store slices in an airtight container. It will keep fresh for up to 5 days in the refrigerator. - Freezing for Later:
- Wrap individual slices tightly in plastic wrap, then place them in a freezer-safe bag or container.
- Cheesecake can be frozen for up to 3 months. Thaw in the refrigerator overnight before serving.
Expand Your Cheesecake Horizons and Culinary Skills
If this cherry cheesecake recipe has sparked your baking enthusiasm, why stop here? Explore a wider world of delicious desserts and recipes to elevate your culinary game. For another take on this classic, consider trying this Heavenly Cherry Cheesecake Recipe for a subtly different flavor profile. Or, perhaps you’re in the mood for a touch of international flavor? Then, dive into a creamy Authentic Mexican Cheesecake Recipe. If you’re feeling adventurous with flavors, why not try the Best Homemade Churro Cheesecake Recipe? But if you’re looking for something beyond sweets, you can explore the savory side with recipes like the Ultimate Burger Bowl Recipe or learn to bake the most incredible Crusty Italian Bread Recipe! With so many options available, your culinary journey has only just begun.
FAQs About the Ultimate Cherry Cheesecake Recipe
1. Can I use a different type of crust?
Yes, you can substitute the graham cracker crust with options like an Oreo cookie crust, digestive biscuits, or even a shortbread crust for a unique flavor.
2. How can I prevent my cheesecake from cracking?
To avoid cracks:
- Don’t overmix the filling.
- Use a water bath during baking.
- Cool the cheesecake gradually to prevent sudden temperature changes.
3. Can I make this cheesecake gluten-free?
Absolutely! Use gluten-free graham crackers or cookies for the crust, and ensure all other ingredients are certified gluten-free.
4. What can I use instead of fresh cherries?
You can use canned cherry pie filling, frozen cherries, or even a different fruit topping like strawberries or blueberries.
5. How long should I chill a no-bake cheesecake?
A no-bake cheesecake needs at least 8 hours in the refrigerator to firm up, but overnight chilling is ideal for the best texture.
6. Can I make this recipe ahead of time?
Yes, cherry cheesecake can be made 1-2 days in advance. Store it in the refrigerator until ready to serve.
Conclusion to the Ultimate Cherry Cheesecake Recipe
Cherry cheesecake is a dessert that combines simple ingredients with impressive results. By following this recipe, you’ll create a creamy, indulgent treat topped with sweet and tangy cherries that’s perfect for any occasion. Whether you bake it or opt for the no-bake method, this cheesecake is guaranteed to delight.
Now it’s your turn to try this recipe at home. Once you’ve perfected it, don’t forget to share your creation with loved ones—it’s a dessert worth celebrating!
