Have you ever strolled down Main Street U.S.A. at a Disney park, the scent of freshly baked cookies wafting through the air, and thought, “I wish I could make these at home”? Well, you’re not alone! The Disney parks are famous for their incredible chocolate chip cookies – soft, chewy, and packed with that perfect balance of sweet and buttery flavors. The good news is, you can recreate that magic in your own kitchen. The key? Precision. And that’s where metric measurements come into play. Forget those imprecise cups and spoons! We’re diving deep into the world of grams and milliliters to unlock the secrets to consistently perfect Disney-level chocolate chip cookies. This isn’t just about following a recipe, it’s about understanding the science behind baking, and using the tools that give you the best chance at success. We will make it not only doable but fun and interesting. So, get your aprons on, preheat your oven, and let’s get baking!
Why Disney Chocolate Chip Cookie Recipe Metric Measurements Matter: The Science of Consistency
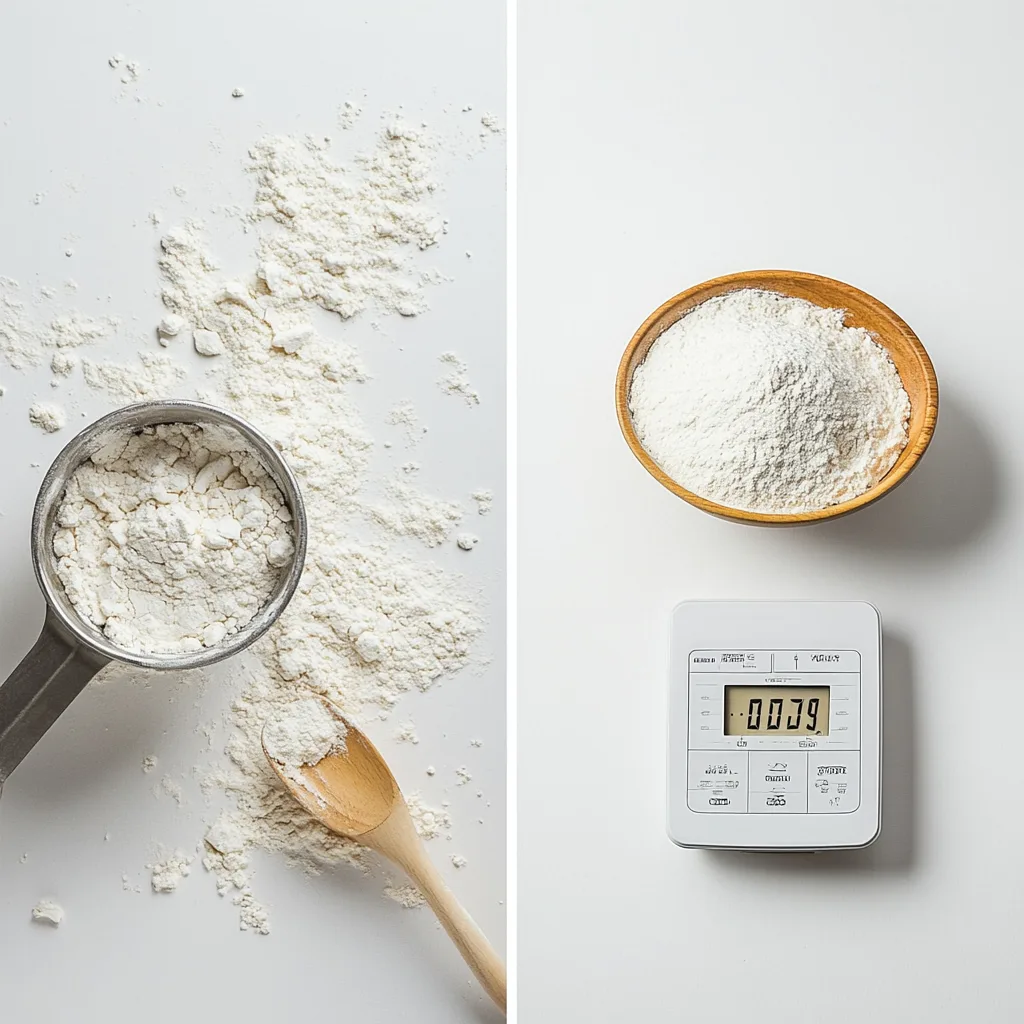
Baking is a science, and like any good science experiment, consistency is key. Think of it like this: you wouldn’t mix chemicals willy-nilly in a lab, would you? You’d use precise measurements to ensure the desired reaction. The same goes for baking. While “a cup of flour” might seem straightforward, it can vary wildly depending on how you scoop, pack, or sift your flour. This variation can lead to drastic differences in the final product. Have you ever wondered why your cookies sometimes come out flat, or why they sometimes turn out cakey? Inconsistent measurements are often the culprit. Using metric measurements (grams for solids, milliliters for liquids) eliminates these variations. A gram of flour will always be a gram of flour, regardless of how you measure it. That’s why it’s especially critical for recipes like Disney’s, where we aim to duplicate that exact taste and texture we all crave.
The Frustrations of Cups: Why Metric Measurements Are Key to Your Disney Chocolate Chip Cookie Recipe Success
Let’s be real, cups are convenient, but they’re far from perfect. How many times have you seen a recipe calling for “a packed cup” or “a heaping tablespoon”? What does that even mean?! These terms are subjective and open to interpretation, making them extremely unreliable for baking. Here’s the breakdown of why cups can be a bit of a headache:
- Inconsistent Packing: How tightly you pack flour (or brown sugar) into a cup will alter the amount you’re using, meaning you could end up using way more than is called for.
- Variations in Scoop Method: Do you scoop the flour into the cup or spoon it in? This will affect the quantity of flour. A heavy scoop can pack down the flour, while a light spooned in measure will give a different volume.
- Dry vs. Liquid: Using the same measuring cup for dry and liquid ingredients is a recipe for disaster! Imagine measuring a cup of flour and then using that same cup to measure milk. You have moisture in the cup now and that will influence your following measurements and recipes.
- Different Cup Sizes: Ever realize that your “one cup” is not the same “one cup” as someone else’s? Measuring cups vary in size and there is a lot of space for errors to happen.
- International Recipes: If you’re trying a recipe from a different country, the cup measurement may not align with yours!
How Metric Measurements Ensure Identical Results for Your Disney Chocolate Chip Cookie Recipe Every Time
Metric measurements, on the other hand, are a baker’s best friend. They offer:
- Precision: Grams and milliliters are objective measurements. 100 grams of butter will always be 100 grams of butter. No guesswork is involved.
- Consistency: This accuracy leads to consistent results every time you bake, meaning you can always count on the same flavor and texture.
- Repeatability: Once you’ve nailed a recipe, you can confidently recreate it over and over again, which is essential for perfecting that Disney chocolate chip cookie magic.
- Scalability: Scaling recipes up or down becomes much easier when using metric measurements. You can accurately increase or decrease the ingredients and still have the best result.
- Science-Based: Measurements by weight are the standard in professional baking and are generally more accurate when baking.
“Baking is a science. Measurements matter. Use the right tools and you’ll get the right results.”
So, let’s embrace the world of metric and say goodbye to the frustrations of inconsistent cup measurements. Get ready for a consistent cookie perfection!
Unveiling the Authentic Disney Chocolate Chip Cookie Recipe: A Guide to Perfect Metric Measurements
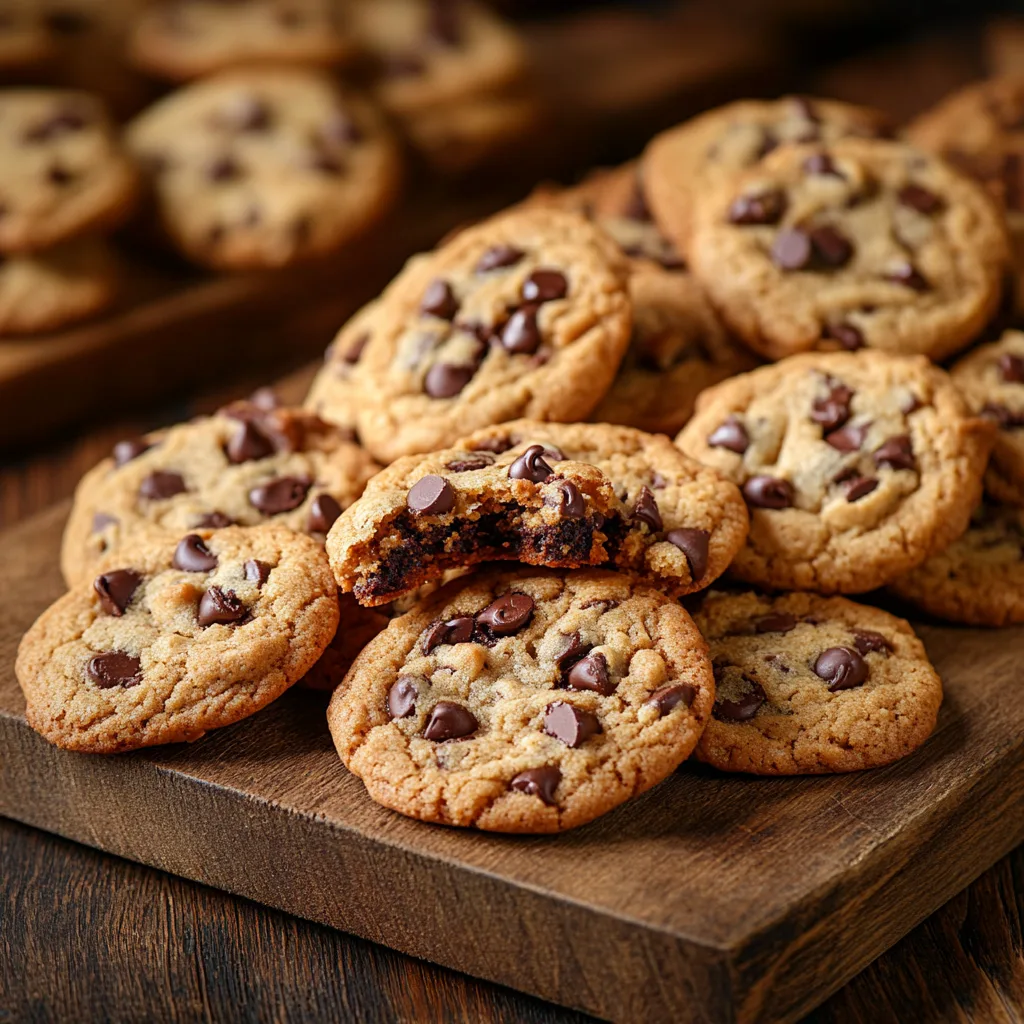
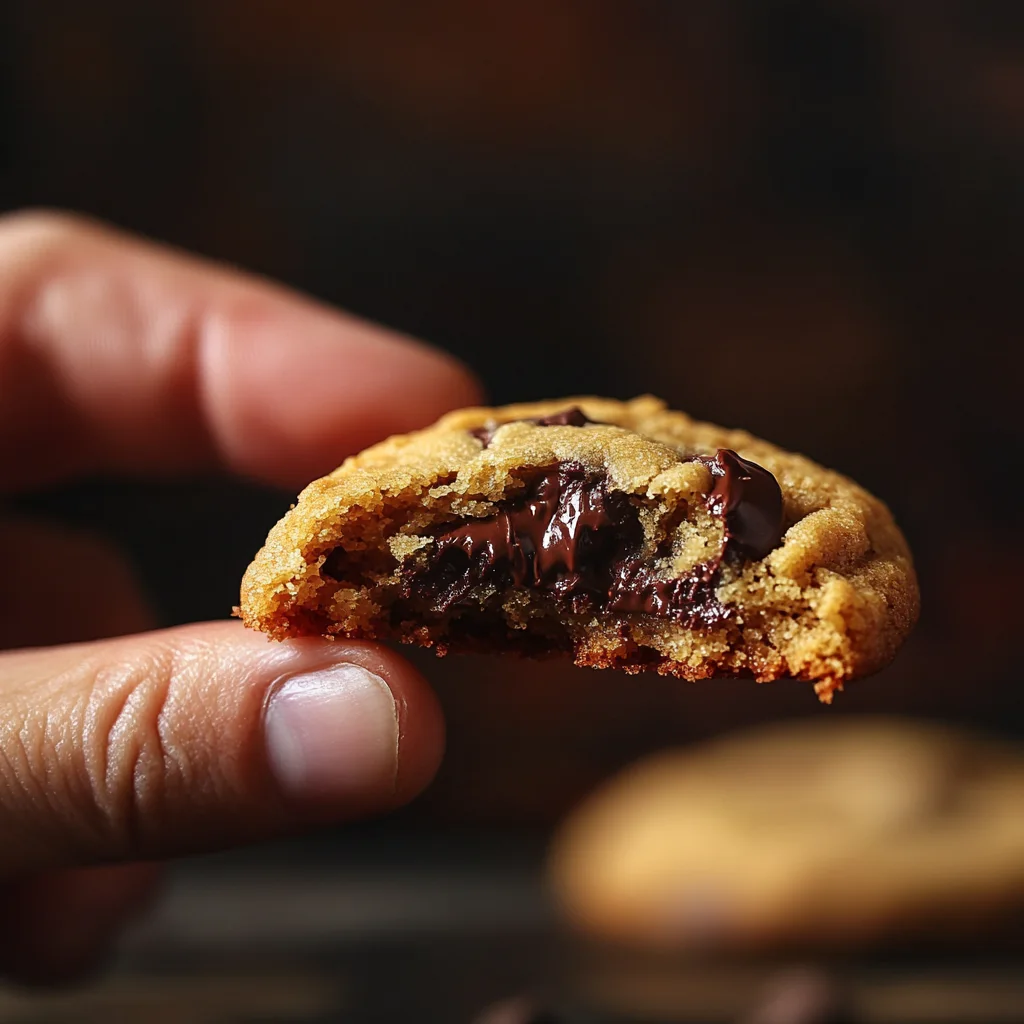
Alright, now that we’ve established the importance of metric precision, let’s get to the good stuff: the recipe! This isn’t just any chocolate chip cookie recipe; this is our attempt at recreating the magic of the Disney parks’ version. This recipe aims for those soft, chewy centers with slightly crisp edges that we all know and love. Note that this recipe is inspired by the general look and feel of the cookies found in Disney parks, and the original Disney recipe remains a mystery. However, this will get you as close as possible to that magic!
Ingredients List: The Key Players in Your Disney Chocolate Chip Cookie Recipe (Metric)
Here’s what you’ll need to gather to make these magical cookies:
- Unsalted Butter: 227 grams (1 cup), softened. Using unsalted butter lets you control the salt content. Make sure it’s softened and not melted, so it creams well with the sugars.
- Granulated Sugar: 200 grams (1 cup) Granulated sugar gives the cookie its sweetness and helps with crispness.
- Light Brown Sugar: 200 grams (1 cup packed). Brown sugar adds moisture and chewiness, and the molasses in it gives a richer flavor. Pack it tightly to measure properly.
- Large Eggs: 2, at room temperature. Room temperature eggs will emulsify more easily into your butter-sugar mixture.
- Vanilla Extract: 10 milliliters (2 teaspoons). A good quality vanilla is key for that classic cookie flavor.
- All-Purpose Flour: 350 grams (2 3/4 cups). The main structure of your cookie, make sure you measure this correctly!
- Baking Soda: 5 milliliters (1 teaspoon). This is the leavening agent. It reacts with the acid in the brown sugar and the heat to make the cookie rise.
- Salt: 5 milliliters (1 teaspoon). Don’t skip this! Salt enhances all the other flavors.
- Semi-Sweet Chocolate Chips or Chunks: 340 grams (12 ounces), approximately 2 cups. For the best melt, use good quality chocolate.
Step-by-Step Instructions: Crafting the Perfect Disney Chocolate Chip Cookie Recipe at Home (Metric)
Now, for the fun part! Follow these instructions closely to make those perfect Disney-style cookies:
- Cream the Butter and Sugars: In a large bowl (or the bowl of your stand mixer), beat the softened butter, granulated sugar, and brown sugar together until light and fluffy (around 3-5 minutes). This is crucial for the texture.
- Add the Eggs and Vanilla: Beat in the eggs one at a time, making sure each is fully incorporated before adding the next. Then, stir in the vanilla extract.
- Combine Dry Ingredients: In a separate bowl, whisk together the flour, baking soda, and salt. This ensures that the baking soda and salt are evenly distributed.
- Gradually Add Dry to Wet: Gradually add the dry ingredients to the wet ingredients, mixing on low speed until just combined. Be careful not to overmix.
- Stir in the Chocolate: Gently fold in the chocolate chips or chunks.
- Chill the Dough: Cover the dough and refrigerate it for at least 30 minutes. This allows the dough to firm up and flavors to develop (more on this in part 3).
- Preheat and Prepare: Preheat your oven to 190°C (375°F) and line a baking sheet with parchment paper.
- Scoop the Dough: Using a cookie scoop (or two spoons), scoop equal-sized portions of dough onto the prepared baking sheet, leaving some space between each cookie.
- Bake: Bake for 10-12 minutes, or until the edges are golden brown and the centers are still slightly soft.
- Cool: Let the cookies cool on the baking sheet for a few minutes before transferring them to a wire rack to cool completely.
Secrets for Achieving the Perfect Disney Chocolate Chip Cookie Texture: Tips & Tricks for Metric Success
We’ve nailed the basics, but let’s be honest: achieving that perfect Disney-level texture isn’t just about following a recipe. It’s about understanding the nuances of each step and the tricks that can elevate your cookies from good to magical. Here are some essential tips and tricks for the best texture:
The Chill Factor: Why Resting Dough is Essential for Your Disney Chocolate Chip Cookie Recipe
We briefly touched on chilling the dough, but it’s so important that it warrants a deeper dive. Chilling isn’t just a time-waster; it’s a key step in controlling the cookie’s texture. Here’s why:
- Solidifying the Fat: When the butter in the dough is cold, it solidifies. This prevents the cookies from spreading too much when they bake, helping them keep their shape.
- Hydrating the Flour: Chilling gives the flour time to fully absorb the moisture in the dough, creating a better-textured cookie.
- Flavor Development: As the dough rests, flavors meld and deepen. It’s like letting a good soup simmer; the longer you leave it, the more flavorful it becomes.
- Easier to Handle: Cold dough is less sticky and easier to scoop and handle, making the baking process smoother.
- Tip: For the best results, chill your dough for at least 30 minutes, but for even more flavor and better results, you can chill it for several hours or even overnight. Just make sure it’s well covered.
Expand Your Baking Horizons: Discover More Delicious Treats
Now that you’ve embarked on your journey to perfect Disney-style chocolate chip cookies, why stop there? The world of baking is full of delightful treats waiting to be explored! If you’re craving more unique cookie recipes, check out our collection of irresistible cookie recipes and let your imagination guide you. Or perhaps you’re intrigued by the ever-popular combination of brownies and cookies? Then you simply must dive into our brookie recipe guide. For a lighter touch, consider trying our creamy madeline cookies recipe for a classic that is sure to impress. If you want to learn more about the differences between baked good classics, check our blondie vs brookie key differences guide. You may even want to explore the world of decadent flavors, like in our Dubai chocolate secrets article. Each of these links will lead you to more ideas and recipes that are sure to expand your baking horizons and bring joy to your kitchen. So go ahead, explore, experiment, and enjoy the process of creating delicious memories!
Check also : How to Make the Best Swiss Gipfeli recipe at Home & The Ultimate Tinis Mac and Cheese Recipe
Frequently Asked Questions: Your Disney Cookie Queries Answered
Baking can sometimes bring up a lot of questions. Don’t worry, we’ve got you covered. Here are some of the most common queries about making these Disney-inspired chocolate chip cookies:
Can I Use Substitutes for the Ingredients?
Sometimes you might not have all the ingredients at hand, or perhaps you have dietary restrictions. Here are some common ingredient substitutes:
- Butter: If you’re out of butter, you can substitute it with margarine, or coconut oil in a pinch. However, the taste and texture may be slightly different.
- Eggs: For vegan options, you can use flax eggs (1 tablespoon of flaxseed meal mixed with 3 tablespoons of water) as a substitute. However, the texture may be a little different.
- Vanilla Extract: If you don’t have vanilla extract, you can use other extracts such as almond or maple, or a bit of vanilla paste.
- All-Purpose Flour: If you need a gluten-free option, you can use a 1-to-1 gluten-free flour blend. Keep in mind that different gluten-free brands vary so it is best to always try a new brand before making a large batch.
- Sugars: You can substitute brown sugar with an equal amount of white sugar plus a teaspoon of molasses for a very similar experience.
- Tip: Remember that substitutions will affect the taste and texture, so try to stick to the original recipe as much as possible for the closest Disney-style results.
What’s the best way to measure the ingredients?
We’ve emphasized the importance of metric measurements, but here are some additional tips:
- Digital Kitchen Scale: A digital kitchen scale is a baker’s best friend for measuring solids. It provides the most accurate measurements.
- Liquid Measuring Cups: Use liquid measuring cups (with spouts) for measuring liquids. Make sure you are at eye level when measuring liquids.
- Leveling: When measuring dry ingredients, gently spoon the ingredient into the measuring cup and level it off with the flat side of a knife, or a spatula. Do not pack or scoop the ingredients into the cup.
- Tip: Always measure your ingredients before starting to bake, and double-check to make sure you have the right measurements.
How long will the dough keep?
- Refrigerated: Cookie dough can be stored in the refrigerator for up to 3-5 days. The flavors will deepen over time, but after a few days the texture will start to change.
- Frozen: As mentioned before, you can freeze your cookie dough for up to 2-3 months. Make sure it is properly sealed in an airtight container.
- Baked Cookies: Baked cookies will stay fresh for 3-4 days, stored in an airtight container at room temperature.
- Tip: Always label your dough or cookies with the date so you know when you made them and when they should be consumed.